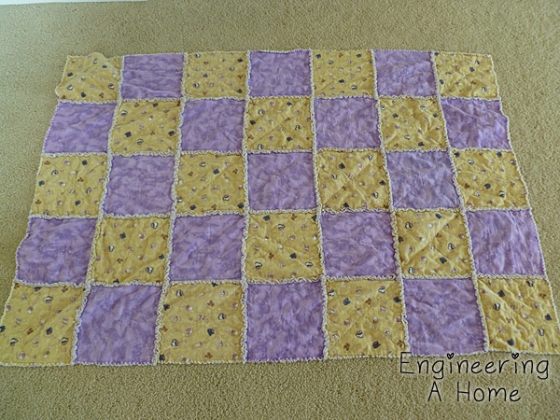
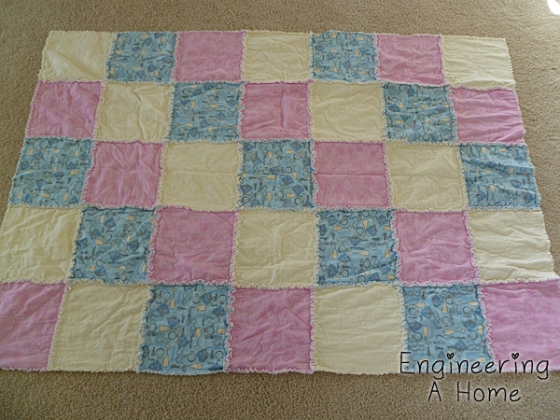
I have a confession to make. I really like rag quilts. I like to use them and I like to sew them. I’ve made quite a few over the years and many I’ve given away as gifts. Below are the ones that I have currently in my house.

The size I make most often uses 10.5″ x 10.5″ blocks in a 5 x 7 pattern. I’ve found that it’s the best use of the flannel fabric so there’s less waste. When I’m doing these quick easy quilts I will usually use 2 or 3 different flannel fabrics.
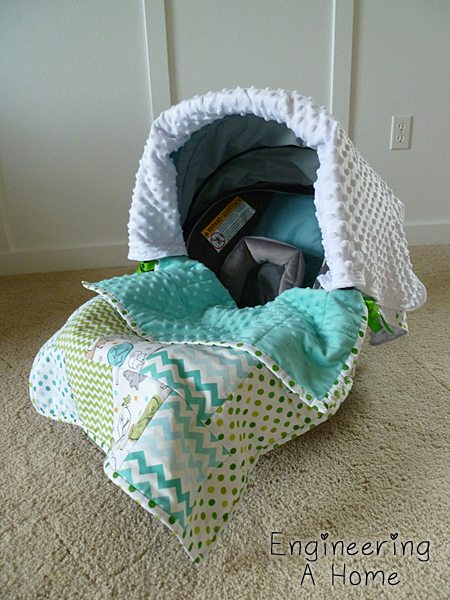
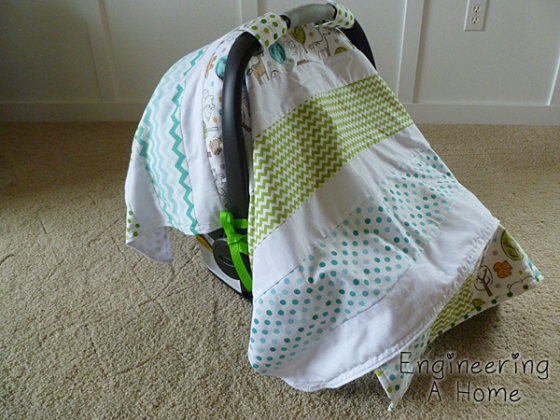
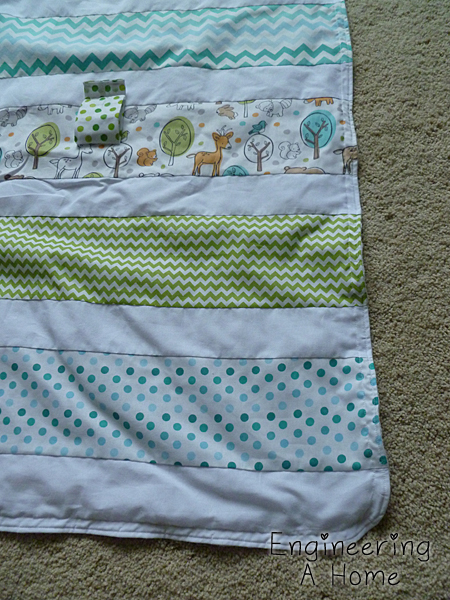
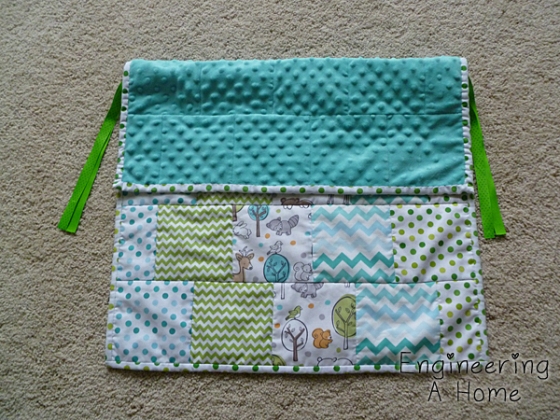
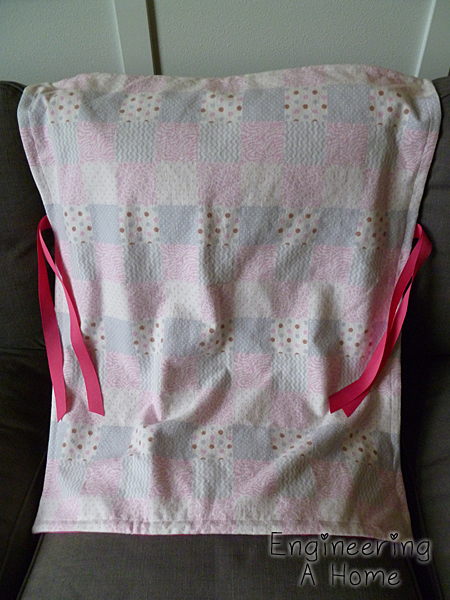
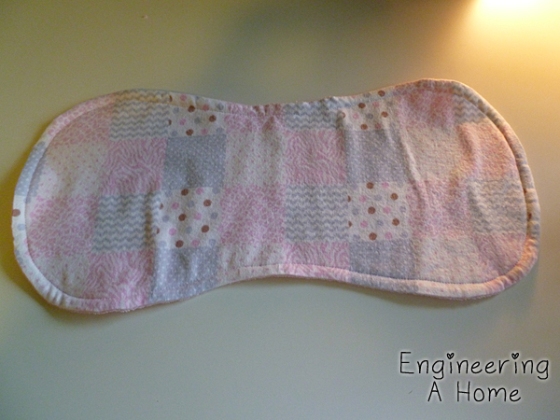
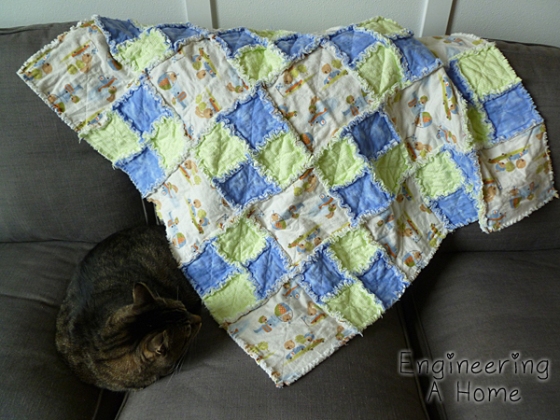
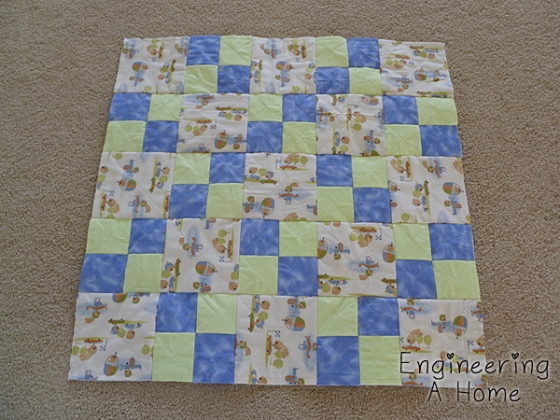
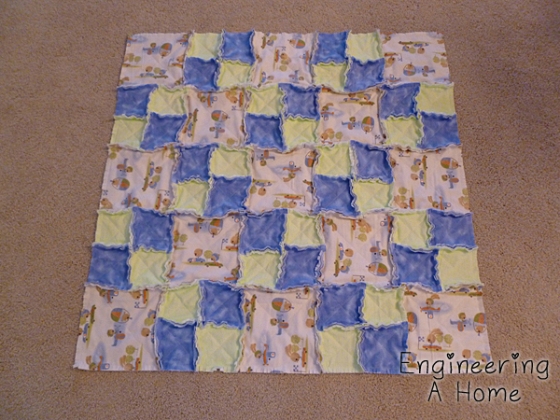
Towards the end of spring I was wanting a small light weight quilt that I could put on my lap while I was feeding Nolan. The final quilt ended up being about 35″ x 35″.
Since I was doing a smaller quilt I decided to go with a little bit more involved pattern then I’ve done before.
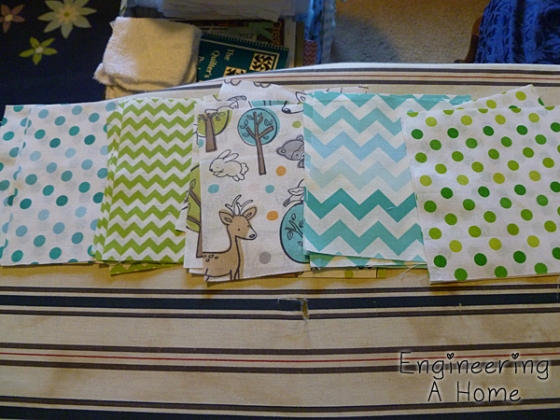
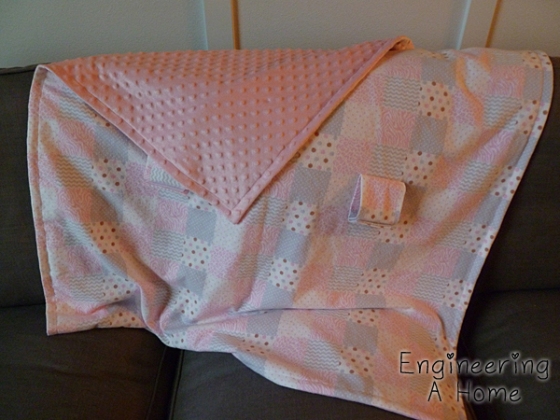
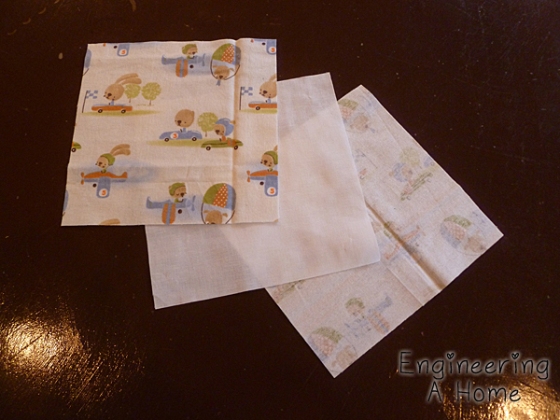
For my rag quilts I always use flannel for the outer fabric and muslin for the inner or batting layer. For this quilt I went through my stash of fabric and picked out three coordinating flannel fabrics. One print and two fabrics that were a little more solid. I already had white muslin on hand as well to use for the middle. Most of the rag quilts I’ve seen online use something else for the batting. I’ve always used muslin or another inexpensive solid cotton. I think it’s the perfect fabric. It’s lightweight, adds the right amount of warmth, inexpensive and it frays really well.
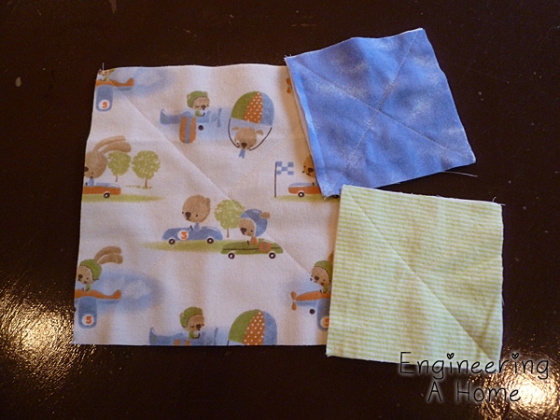
So lets get started on the quilt. The first step was cutting a big stack of blocks. For this quilt I cut 26 – 8″ x 8″ squares out of the main flannel fabric and 48 – 4.5″ x 4.5″ squares out of each of the solid fabrics. I also cut out 13 – 8″ x 8″ squares and 48 – 4.5″ x 4.5″ squares out of a white muslin for the batting.
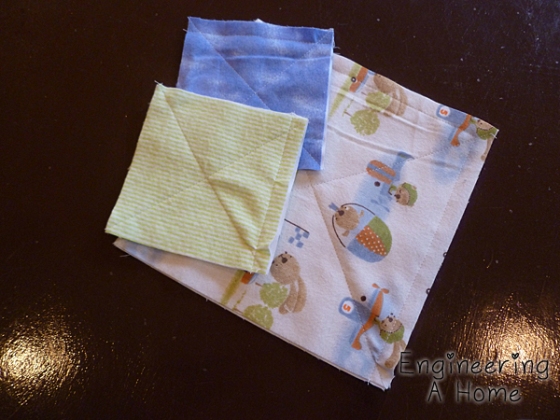
Once the fabrics were cut I layered them up into the blocks. Two layers of flannel with one layer of muslin in between.
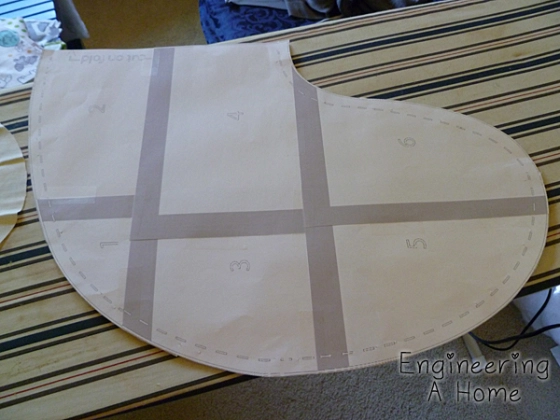
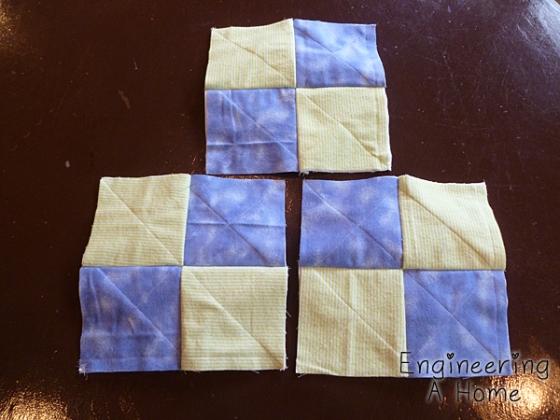
After all the fabrics are layered in blocks I sewed an X on the front of them. This helps to keep the fabrics from shrinking at different rates which could make the quilt bunch up weirdly. I always do this and it’s especially important if you’re doing larger blocks.
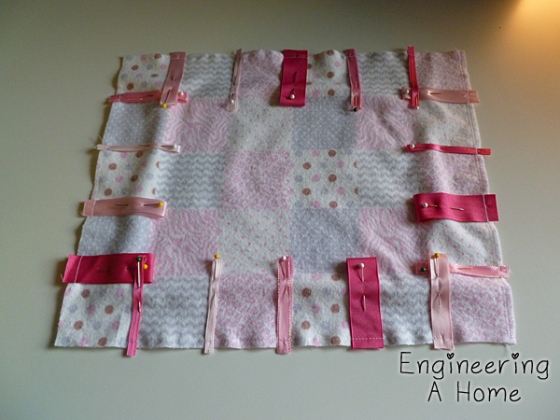
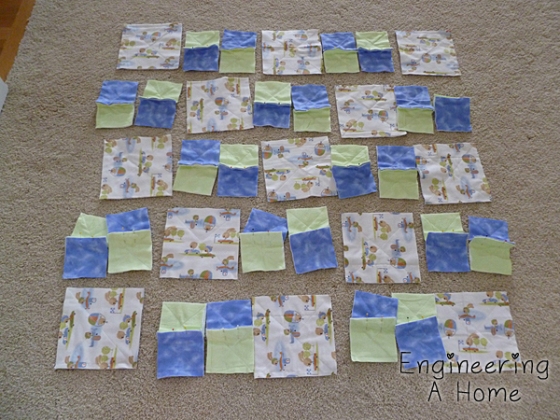
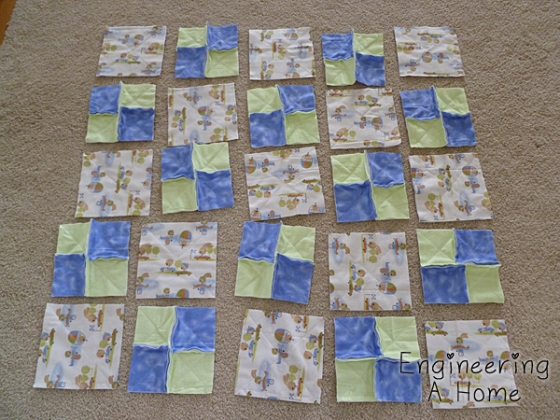
With all the blocks ready to go I laid them all out on the ground in the pattern that I wanted. I did this so that I could determine which blocks will be on the edges. Then I sewed down the edges of the blocks on the outsides with a 1/2″ seam allowance. It can be a tedious process but I have found that if I don’t do it now I have to do it at the end and then I have to sew all the outer seams flat which doesn’t look as nice. It’s totally worth it to finish the edges at this point instead.

Here are some edges and corners all stitched up.
With the edges done I started assembling the smaller squares into blocks. Just like with the edges I use a 1/2″ seam allowance in all of my rag quilts. I think it’s the right thickness of seam to fray well but no to long that it looks stringy.
To make the seams less bulky, easier to work with and easier to match corners I made sure all the seams were laying toward the green blocks.
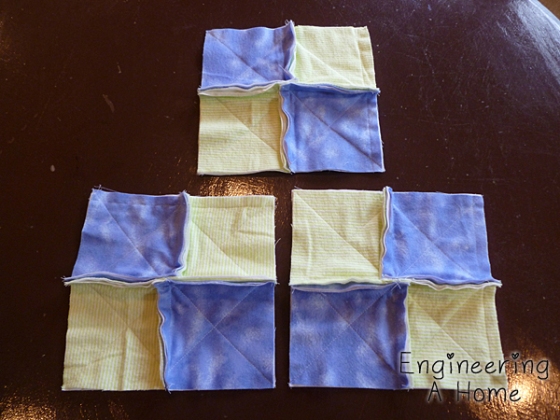
When the seams lay in different directions it makes the seams thinner and it helps to lock the corners together when it’s being sewed so that the corners and points will match up really well. This is a great tip for any quilt not just a rag quilt.
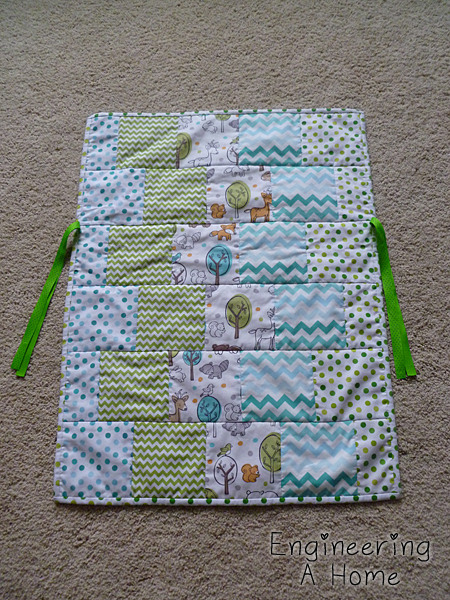
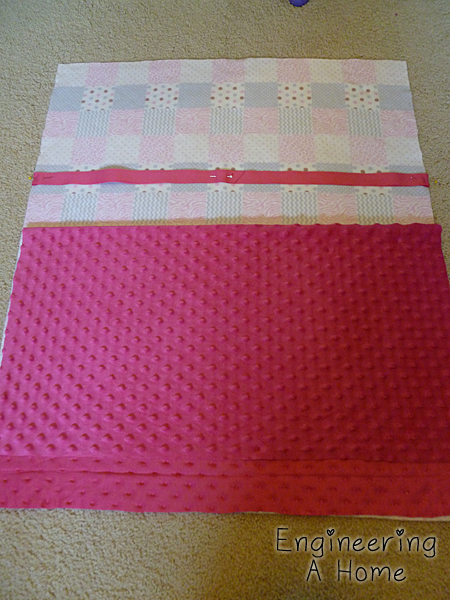
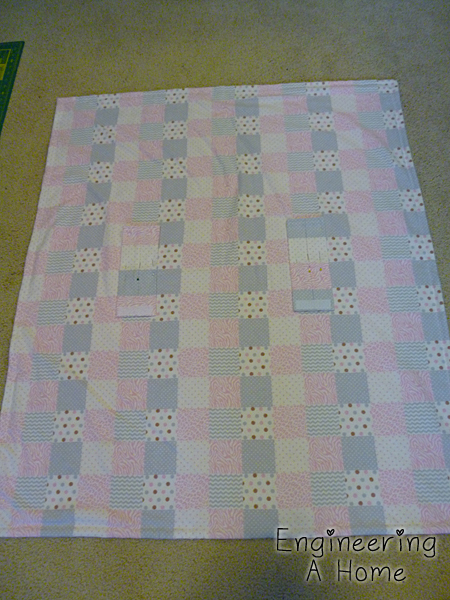
Once the smaller blocks were together I laid them out again with the other blocks.
The I just sewed the blocks into rows and then the rows together.
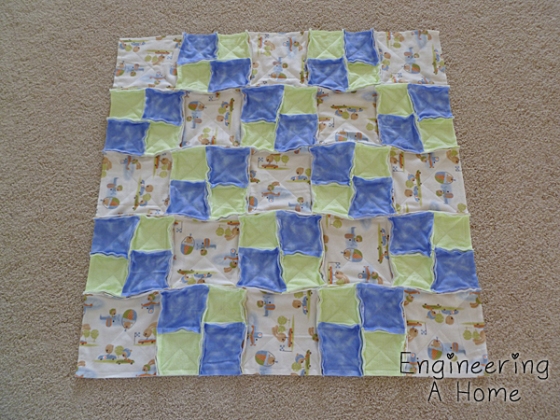
Just like with the blocks I kept the seams always laying toward the patterned blocks to lock the corners together and kept the seams from being to bulky.
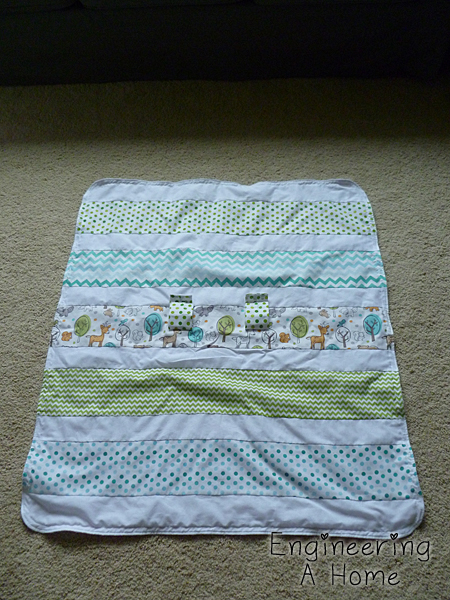
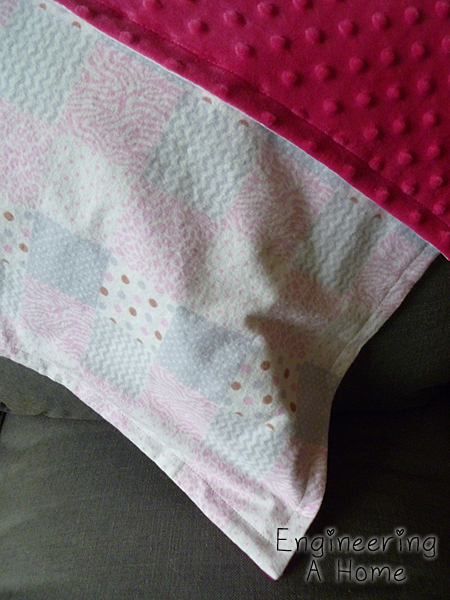
One of the last steps is clipping the seams. It takes forever and starts to hurt my hand every time but the seams will not fray well without this. And that’s the whole point of a rag quilt is to have the frayed exposed seams. I usually clip about 1/4″ apart (I just eye it) along every seam as well as around the perimeter.
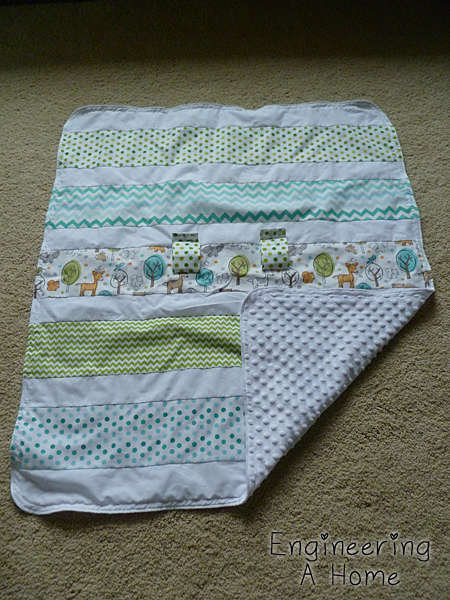
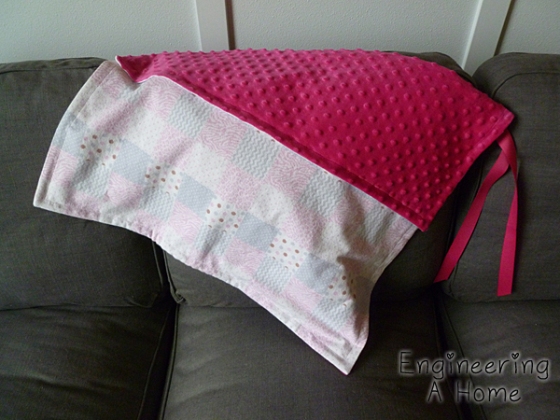
The last step is washing the quilt to get the seams to fray up. I always make sure to shake out the blanket after it comes out of the washer and before I put it in the dryer. Otherwise I’ll end up with a ton of strings clogging up the dryer.
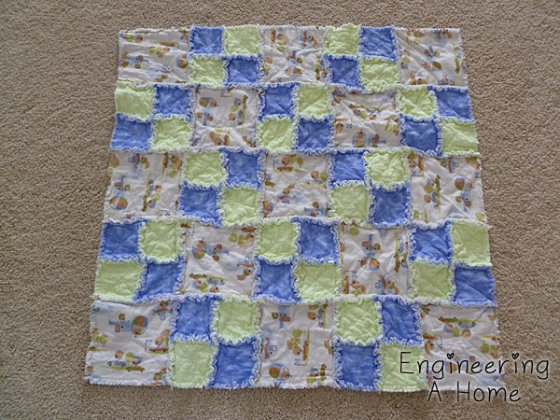
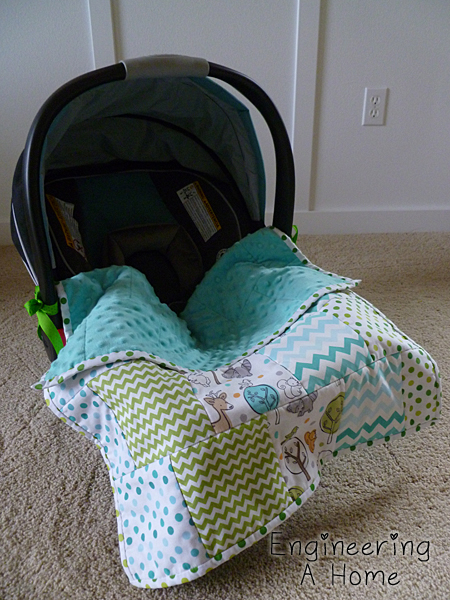
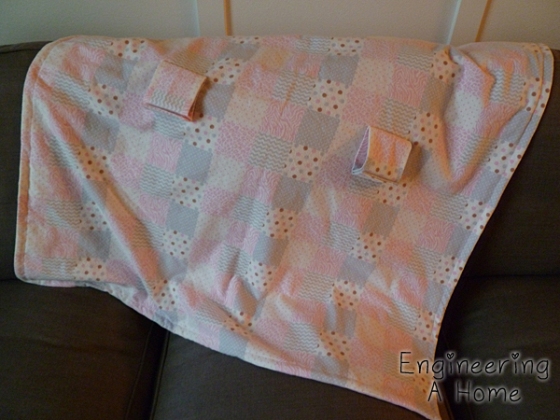
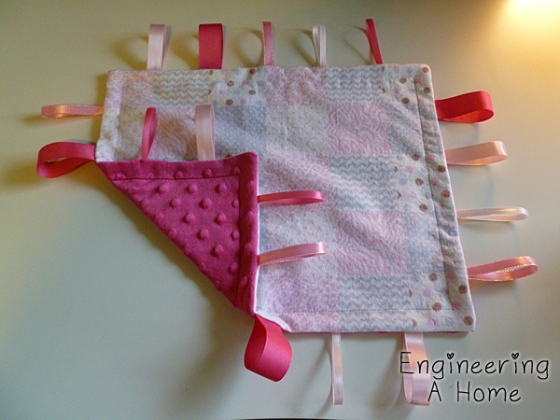
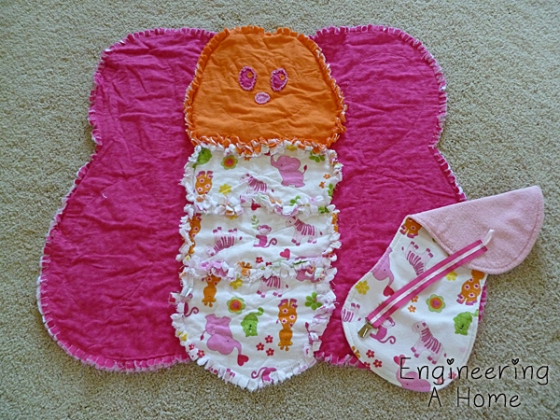
So that’s it. One baby rag quilt. I’m really liking it and I’ve been using it throughout the summer. Hopefully once Nolan gets a little older he’ll like it and what to use it too.