Easy Crib Skirt and Curtains for Nursery

After all the challenging sewing work with the chair I needed something a little quicker and simpler to work on next. I decided to take on the crib skirt and the curtains for the nursery since they are pretty much just simple straight seams.

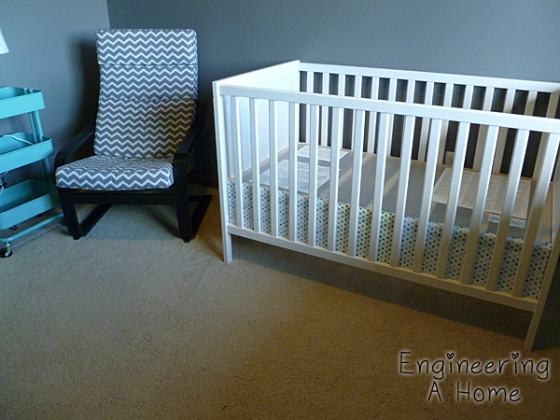
Since my crib has solid sides I really only wanted and needed a skirt on the front to cover the side of the mattress base. I thought about doing something more fancy but in the end decided to just go with something really simple.

I was only going to use just the teal polka dot fabric I had but I didn’t have quite enough fabric. So I ended up adding a little strip of the green polka dots in the middle.

Crib Skirt 1

I guessed on how I wanted to split up the three panels but it ended up working out perfectly so that the seams are all behind the slats of the crib. It’s actually a little hard to tell the difference between the two colors in the photos and in person it’s pretty subtle as well.

Crib Skirt 2

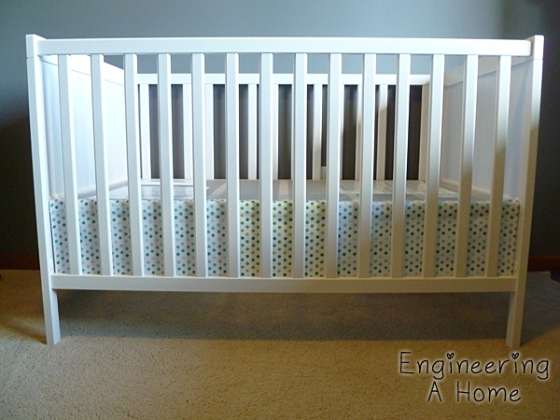
I know that it’s not a super exciting crib skirt but it’s enough to cover up the wooden side of the base that was just hanging out.

Crib Skirt 3

Crib Skirt 4

Since the frame of the my crib base is wooden I decided to hammer in some small tacks to keep the fabric in place. It should be pretty easy to remove when we are ready to drop the mattress down lower since I don’t think we will need  the crib skirt then.

Crib Skirt 5

Now on to the curtains.

Nursery Curtains 1

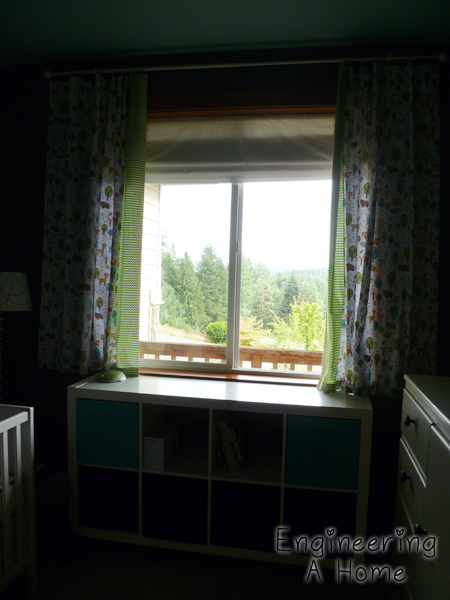
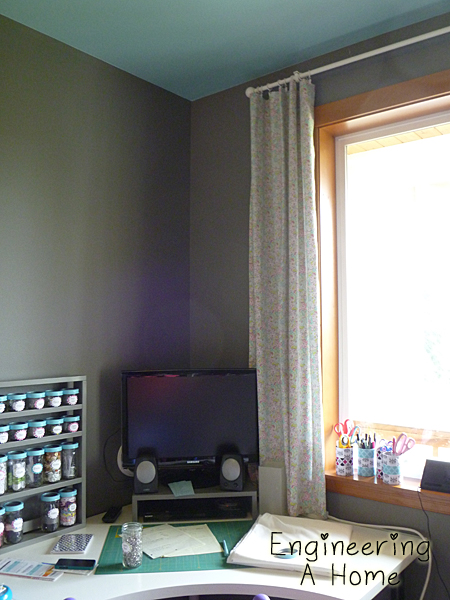
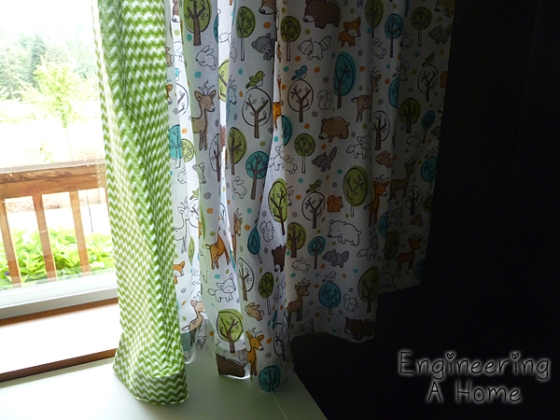
I used the woodland animal fabric (that I talked about in the mood board) and a matching green chevron. For the green chevron I cut a 45″ width of fabric in half one for each curtain. Then I just folded it in half and sewed it along the side of the woodland fabric. I also lined the back of the animal print with a white muslin to finish it and give it more weight and thickness.

Nursery Curtains 2

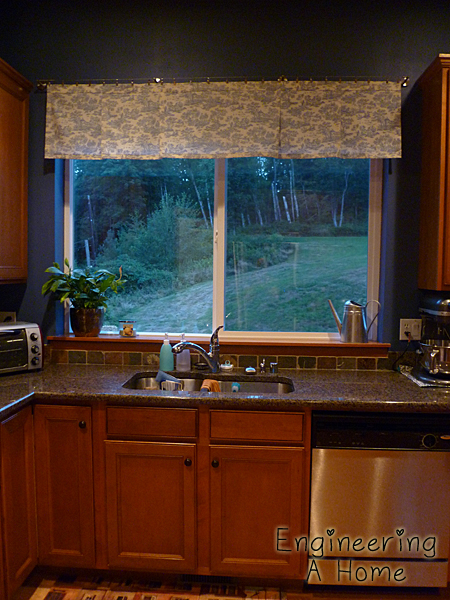
Here’s a look at the curtains with the roman shade down. (If you want to know more about the roman shade I made check out this post.)

Nursery Curtains 3

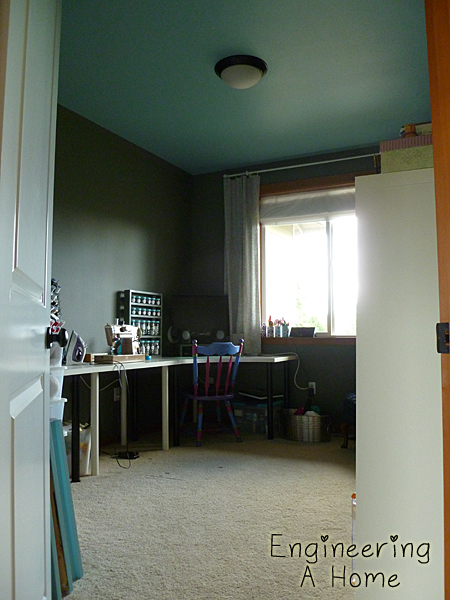
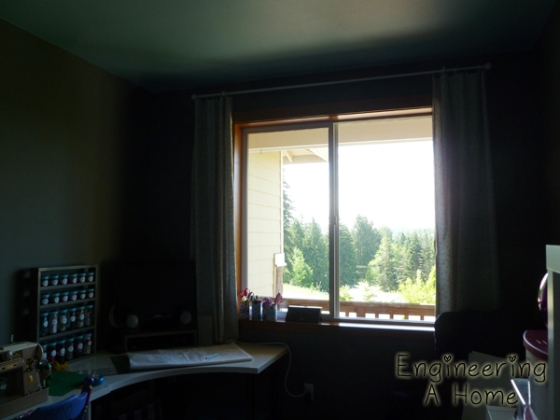
And another shot of the curtains.

Nursery Curtains 4

If your curious the rod came from Ikea and it’s the same one that I put up when this room was the sewing room.

Nursery Curtains 5

I love the pattern and I’m pretty happy with how they turned out. Hopefully the baby will like them too.

Pleated Window Valance in the Kitchen

On an unplanned trip to Hobby Lobby I stumbled across some fabric and I fell in love. I have always really liked the Toile patterned fabrics but I couldn’t find a good use for one.

When I found this one I thought it would match our kitchen paint colors perfectly and it would make a great valance for the window. Even Chris agreed with the fabric choice so I went ahead and bought 1 1/2 yards.

Kitchen Window Pleated Valance 1

Before I started making the valance I knew that I wanted something simple, clean that had some pleating for interest.

Since the kitchen window is wider than the 45″ fabric I had to sew together several pieces of fabric to make it wide enough. I worked it out such that I had a seam located where I wanted to pleat the fabric.

Kitchen Window Pleated Valance 4

I used a seam gauge and pleated the over the fabric one inch and pinned the pleat all the way down the valance. I top stitched just the top of the pleat a few inches down to keep the pleat in place. Then I came back and iron the entire length of the pleat to sharpen the crease so it would stay pleated once it was hung.

Kitchen Window Pleated Valance 5

To finish the sides as well as the bottom I first serged the raw edge and then I did a double turn one inch hem. To hold the hem I top stitched close to the folded edge.

Kitchen Window Pleated Valance 3

For the top I cut strips of fabric that were 2 1/2 inches wide. I sewed them together so the seams matched were the pleats were. Then I folded this in half and sewed it to the top of the valance.

Kitchen Window Pleated Valance 2

Since I didn’t want a large bulky curtain rod I chose to use the Dignitet curtain wire system with two extra supports to keep the wire from sagging on the over 70 inch span.

Kitchen Window Pleated Valance 6

It’s a little hard to photograph with the light from the window but here is a close up of the valance.

Kitchen Window Pleated Valance 7

It has two pleats evenly spaced on either side of the center. The center portion is about two times the distance between the two side pleats.

Kitchen Window Pleated Valance 8

I really like how the curtain hangs on the wire. We had to hang the valance a little higher than I originally planned so that the cabinet door wouldn’t bump into the wire and hardware. Although once it was hung it was hard to see how high above the window it actually hangs. It just looks like it’s meant to be even with the cabinets.

Kitchen Window Pleated Valance 9

I think the color and pattern on the fabric fit in really well with our kitchen.

Kitchen Window Pleated Valance 10

There’s just something about a window that just feels unfinished until it has some kind of curtain. I’m glad that I finally finished up this window.

Kitchen Window Pleated Valance 11

Anyone else feel like you need some kind of curtain or valance for a window and a room to feel finished?

The Roman Shade to End Them All

I may have thought I was crazy for doing the first five roman shades in our house but I really think I hit a new level of crazy with this one. It may very well be the last roman shade I ever sew (at least for a long time).

This project took me months to finish of off and on work. The intimidating size coupled with the tedious work made for a project that I just wasn’t motivated to finish. But this last weekend I finally finished the last steps and got this shade hung!

I wanted to save a little money on this shade so I was trying to use things that I already had. Since I already had some 45″ wide white cotton I used that for the half of the lining. Since my window was wider than 45″ wide I had to piece fabric to make it wide enough.

First I cut down my fabrics to about the right height. I had two strips for each layer.

Sewing Room Roman Shade 1

Then I had to cut one of the strips for each layer down the center lengthwise. Then I just sewed these two half size pieces with the full size piece in the center to make it wide enough.

Sewing Room Roman Shade 3

Once all the layers were pieced together I had to cut down both sides so each later was the right total width.

Sewing Room Roman Shade 4

Here’s a snapshot of what the main fabric looks like. I wanted the shade to be white but a little more interesting than a plain. It’s basically a white on white pattern that it’s obvious from a distance but it does add a little interest.

Sewing Room Roman Shade 2

Really from there on I just follow the steps that I previously did.

This time for the header board I wanted to stain it instead of covering it with fabric like I did before. Sine the window I was putting it in is fully framed in wood I thought it would blend in a little better that way.

Sewing Room Roman Shade 5

Once I had the header stained and the mounting hardware on I marked for the rings.

Sewing Room Roman Shade 6

Another small difference in the header was that I added an extra ring close to the right edge where I planned on having the pull cord come from. In the past we mounted one in the window frame so this was just a little bit of an upgrade.

Sewing Room Roman Shade 7

Just like with the curtains I had a really hard time taking good photos because of the lighting.

Sewing Room Roman Shade 8

Here’s a close up shot of the two fabrics.

Sewing Room Roman Shade 9

It may look a little less than fantastic in pictures but I’m so happy to finally be done.

Sewing Room Roman Shade 10

It’s nice to finally feel like the window is finished out and to have a little more privacy for this room if I ever need or want it.

Sewing Room Roman Shade 11

Seriously, after almost 6 months I’m glad to call this done.

Anyone else tackle a project multiple times over and finally decide that you’d done one too many?

If you want more info I how I have sew my roman shades check out my tutorial part 1 and part 2.

**Update: I’m converting this room into the sewing room but I’m keeping this roman shade, just changing up the curtains. 

Sewing Sewing Room Curtains

I’ve been working on a roman shade for my sewing room and lets just say that it hasn’t been going all that well. It’s tedious and super intimidating for me. All this equals a project that has probably taken at least 6 months and is still going. In the mean time I decided to finally get on making the decorative curtains that I wanted for over the window.

Months back I bought an inexpensive white curtain rod from ikea. Last week I finally went into the fabric store and looked for something to make the curtains.

Since I used the curtain rings all I had to do was cut the fabric to size and finish the edges. On the sides I did a double turned 1″ hem and on the bottom and top I did a 3″ hem.

Sewing Room Curtains 1

I wanted something cotton so that it would be lightweight and inexpensive.

Sewing Room Curtains 2

As for the color I really wanted something that would lighten up the room as well as tie in the teal ceiling as well as include some bright pink.

Sewing Room Curtains 3

I’m actually really pleased with the fabric I found. From a distance it just looks like a blur of light colors. I’m glad I didn’t go with a large bold pattern which would have been too overwhelming.

Sewing Room Curtains 4

After just a few hours I had the fabric cut and hanging on the newly installed curtain rod. Now all I need to do is finally get on that roman shade.

Dressing Up Some Windows

Since we’ve moved in both of these rather large windows in the living and dining have been bare.

They didn’t look bad, in fact they are huge windows with overall great views but they felt just a little unfinished.

Well, we’ve been working on a project late this summer. Spoiler Alert: we built a shed! Unfortunately the shed ended up blocking the view out of the dining room a bit. It didn’t go exactly as we had originally planned. So now we have a less than stellar view which was just the push I needed to consider some curtains.

On our last trip to Ikea (our second home) I picked up two sets of curtain rods and curtains. I think it ended up costing around $100 and that’s the main reason for choosing Ikea, I couldn’t find anything else much cheaper.

In the past when I was thinking about the curtains I knew that I wanted something light and airy. I didn’t want to completely cover the windows or block the views entirely, I just wanted to soften the edges a bit. I also wanted to go with a layered look.

After searching the Ikea website I found that the vivan curtains not only came in both grey and white but they seemed to look sheer. The $10 a set price tag was also a a big selling point. So I went off to the store an gathered all the things I needed, including double rods to layer the curtains with.

So enough with the talk on with it! Here’s the dining room with the shades open:

Then on to the dining room with the shades closed. That shed roof is completely out of view now. The curtains didn’t end up being the silky sheer that I originally expected but they are a light-weight more linen look, which for the price was just fine with me.

In the dining room I went with the grey in the front and the white layered in back. I love that they run independently so that I can open and close them differently.

One thing I learned in this is that at Ikea you need to buy one set of the curtain rings per panel not per set of curtains. With only five rings on a curtain they don’t lay very well and they gap awkwardly. I’m looking to remedy that one my next trip to Ikea.

Now onto the living room. Here are the curtains up and open. Actually the window is pretty wide in here and as such if we were to fully close the curtains they would end up almost flat. I’m not too concerned about that since I’m not planning to close them very often, mostly they are just for show here.

I also switched the order of the curtains up in the living room because I didn’t want a large amount of grey showing because of the already large grey couches.

Something you may notice below is that the curtains have a bit of a high water pants issue. Have I ever mentioned that it’s hard to find curtains that are more than 98″ long, especially cost effective ones? Because it is.

For now it was worth the price and I have some plans for lengthening the curtains in the future.

Anyone else have some ideas for lengthening some curtains? Have you made any alterations to basic curtains to jazz them up a bit?