
The nursery is pretty close to being finished! I’ve only got a few smaller things to wrap up but I’ve fallen a bit behind on sharing the projects on the blog so here’s one of those projects that’s been done for a while.
After I started putting the nursery together I thought it would be nice to have a storage basket to put next to the chair. That way I can throw in a blanket or anything else that I might want near me that doesn’t work on the cart.
I found an easy to follow tutorial on the blog Make it and Love it. The tutorial explains it well so I don’t really have a whole lot to add. I’ll just add a few comments as to what I did. I used the same supplies suggested and cut the fabric to the same sizes. The main green fabric I used is left over from the ottoman, lined with a stiff fusible interfacing and the lining fabric is just a thick muslin.

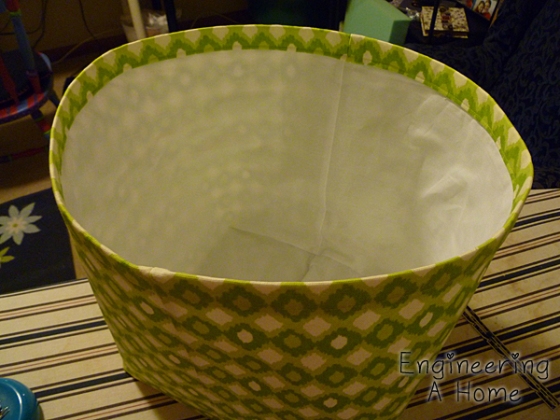
Other than gathering all the needed supplies I pretty much just followed the tutorial from there. As you can see I already sewed the bottom corners to make the box shape and then pinned the tops together, right sides facing out.
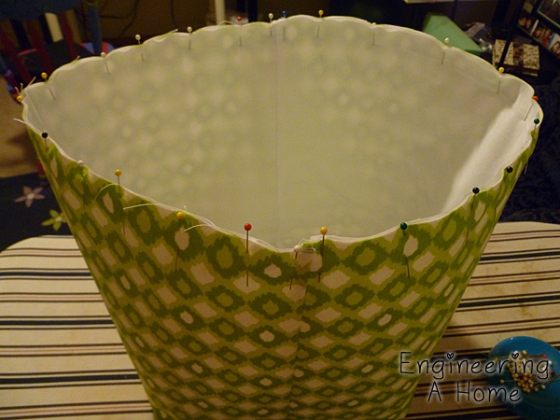
If I remember correctly I did go ahead and serge the top of the bag before turning it twice for the top hem.
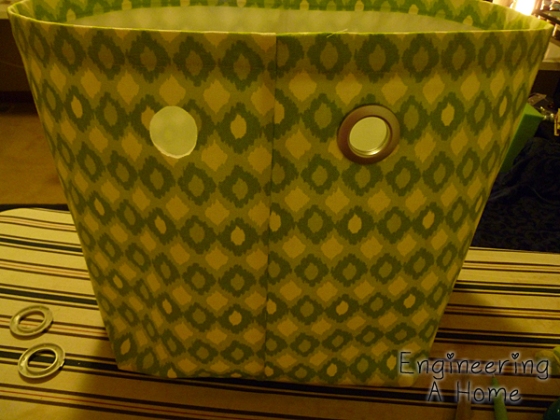
Once the basket was together I installed the eyelets using the directions that came in the package.
All that was left after that was to tie on the handles.
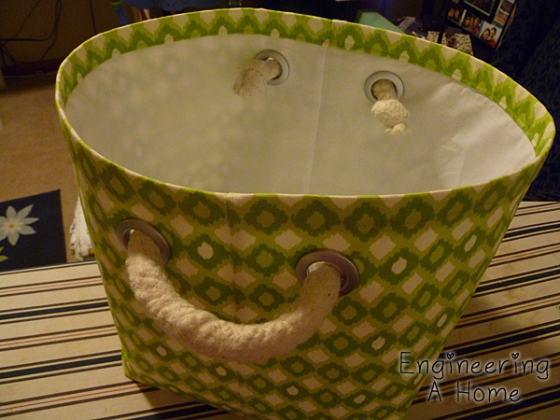
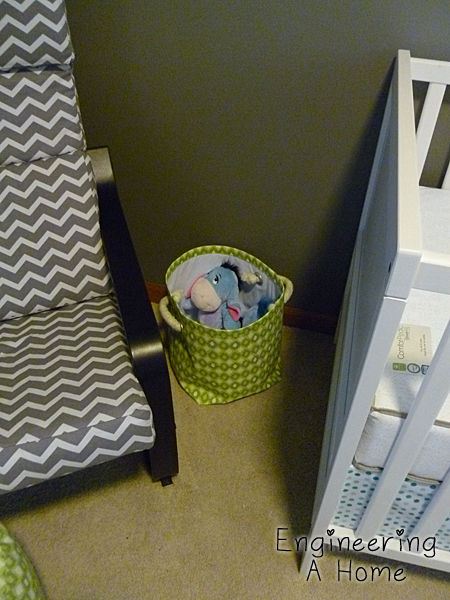
For now I’ve just got some stuffed animals and blankets inside for show but we’ll see how it ends up getting used.

This is the first fabric basket I’ve ever made and I’m surprised with how quick and easy it was. I still have enough eyelets left for another basket so maybe I’ll make a second one later.
Don’t forget to check out the tutorial I linked at the top of the post if you want to make your own. There are a lot more detailed instructions there.

Very cute basket with the stuffed animals in it.
Nice work. I’ve recently started to add grommets to my totes. They’re fun!
Very cute, and when you have a baby, you need a lot of baskets!!!!